
ORCID is a persistent identifier for researchers. This article shows you how to set up your ORCID for use in SciENcv and other systems.
What Is ORCID?
ORCID (Open Researcher and Contributor ID) is a persistent unique identifier for researchers. Usually, researchers are identified by their names, but as the research community grows and becomes increasingly global, names are insufficient to differentiate scholars. If you consider how many James Smiths or Li Wus there are in the world, you can start to appreciate the issue. Using an ORCID helps to ensure that your work is properly credited to you.
ORCID uses a string of 16 numbers to identify each researcher who registers. This number stays with a researcher throughout their career, even if they change institutions or their name (e.g., through marriage). ORCIDs are free to create through the ORCID website.
Why Do I Need an ORCID?
Because ORCID is an independent, nonprofit identifier, it integrates with many other systems used by researchers. For example, SciENcv can import information from your ORCID profile into a biosketch template, decreasing the amount of time needed to fill out paperwork. Funding agencies and publishers also increasingly require that researchers have ORCIDs. The number of agencies that require ORCIDs is expected to continue increasing after the 2022 OSTP Holdren Memo, which instructed U.S. federal agencies to incorporate persistent identifiers in their data management expectations.
Populating Your Profile
When you receive your ORCID number, you will also be given a profile on ORCID’s website. You can populate the profile with information about your education, employment, and works, as you would an online CV.
Name
The first section in your ORCID profile is your name. To edit this section, click on the pencil in the top right corner of the box, as shown here.

In addition to first and last names, ORCID also provides space for:
-
Published name: How you prefer your name to appear when credited. This is the name that appears at the top of your ORCID record. If you want to use an initial or second family name, include it in the “Published name” field.
-
Also known as / other names: Additional names you may be known by. This can include an abbreviated first name, variants including middle names, former or alternate names, or names in a different character set.
Employment
Your ORCID profile also has room for your affiliation or employment history. Under the employment section, click on the “Add” button to add a new record:
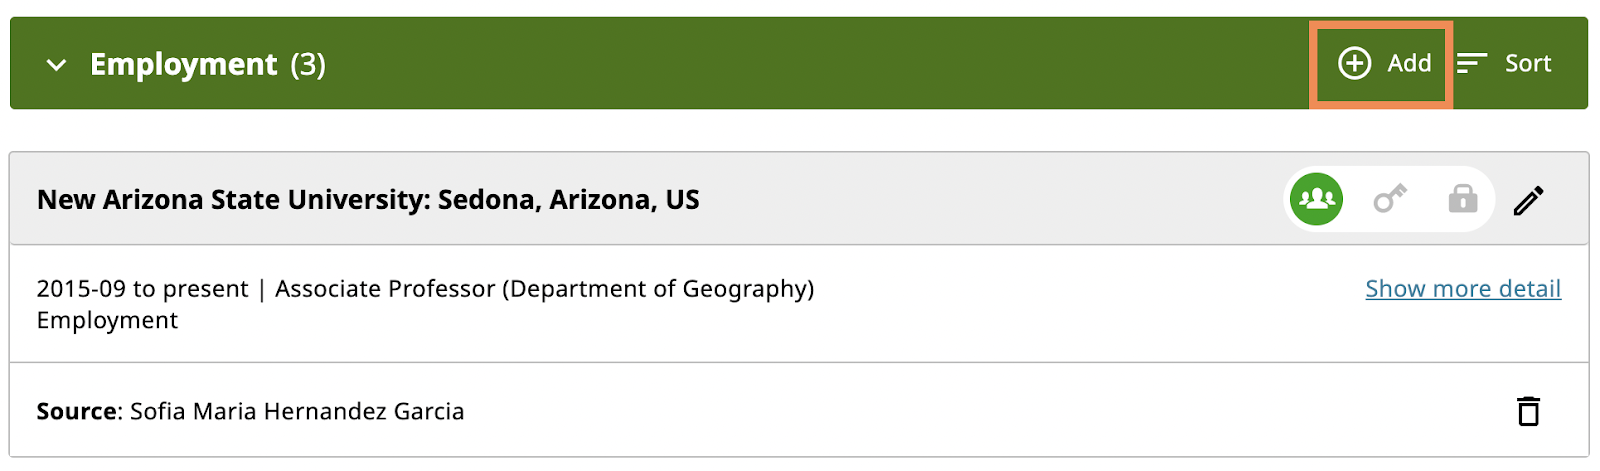
A form will pop up that you can fill out with information on your employer and title.
Education
The education and qualifications section of your ORCID record is for information about institutions where you have studied and/or that have awarded you an educational or professional qualification. This section functions similarly to the employment section. First, click the “Add” button and then select if you are adding an education record or a qualification record.
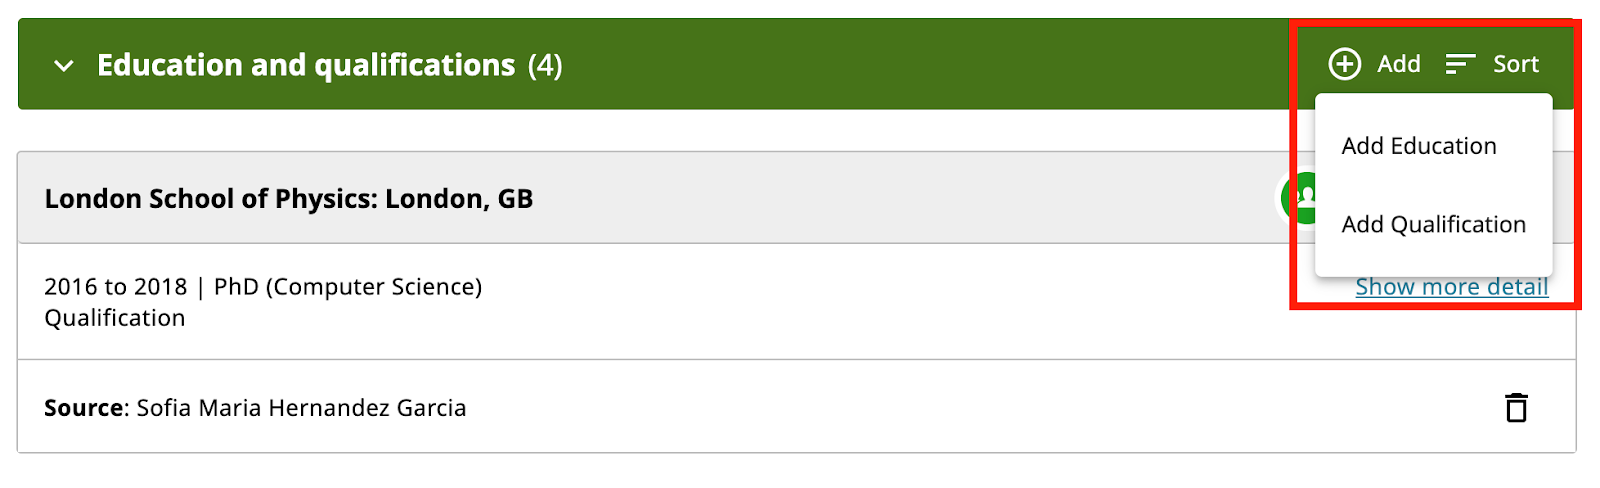
As with employment, a form will appear with sections to enter details about your education.
Works
The works section is the heart of the ORCID profile. Works are your research outputs, including publications, data sets, conference presentations, and more. There are several ways to add works to your ORCID profile, as shown here:
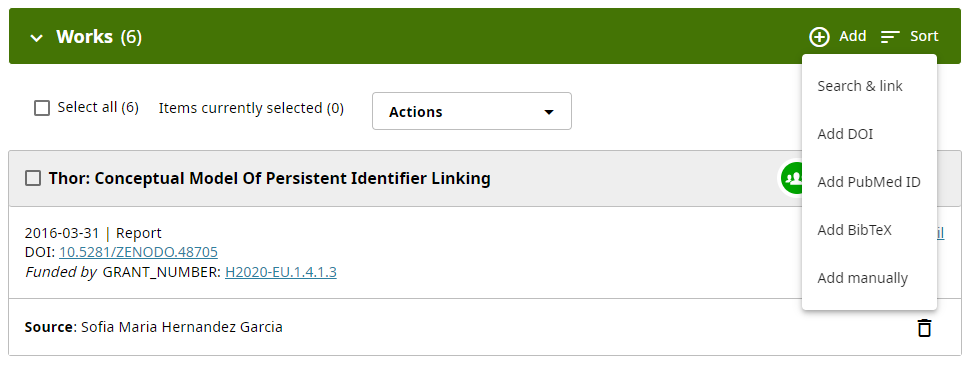
When adding a work, click the “Add” button and then select a method. These methods are outlined below.
-
Add manually: Clicking “add manually” brings up a form similar to those used for the employment and education sections. For this method, you will fill out the necessary fields in the form and add each work.
-
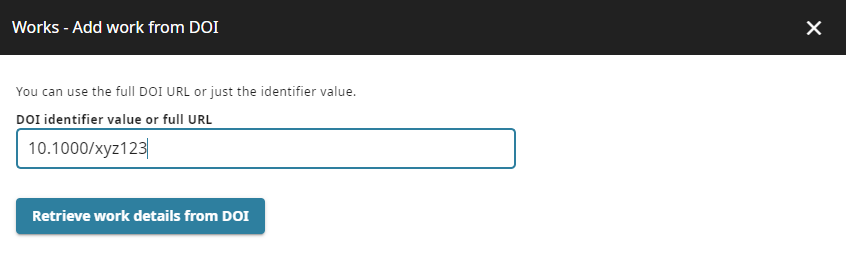
DOI/PMID: Just as ORCID is a persistent identifier for a researcher, digital object identifiers (DOI) and PubMed IDs (PMID) are persistent identifiers for works. When using this method, first look up the DOI/PMID for the work you want to add. These are usually available in databases or citations. For instance, PubMed has a line in every article included in the database, below the authors’ names, listing the PMID and DOI (if available). Once you have located the identifier you want to use, click “Add DOI” or “Add PubMed ID” and a box will appear allowing you to input the identifier. After you retrieve the work details, you have an opportunity to edit the work before adding it to your profile.
-
BibTeX file: BibTeX is a file format used for citations. It is commonly used by reference managers (e.g., EndNote or Zotero) and Google Scholar. If you already have a collection of your works in your reference manager or through Google Scholar, you can export your collection as a BibTeX file before importing it to ORCID. To import your file to ORCID, choose “Add BibTeX” and select the file from your computer.

- Search & Link: Scopus: ORCID integrates with other databases to help you populate your profile. To start the process, select the “Search & Link” option. ORCID will show you a list of different places that you can import your works from. We recommend trying Scopus first, but there are several other options available.
Once you select Scopus as your importer, you will be taken to a wizard on Scopus’s website to complete the import process. First, Scopus will ask you to select which researcher profiles in their database belong to you – there may be several profiles that are made up of your works. If you are unsure if a profile is yours, you can check the recent works associated with that profile in the wizard.
Next, Scopus will ask you for your preferred name if you have multiple researcher profiles in their database. In the third step, you will verify which individual works you want to import and exclude any that do not belong to you. Finally, you will go through several steps verifying your import.
Search & Link is the recommended first stop for importing works, but it may not be exhaustive. The databases linked through Search & Link will not have all works for all scholars.
Visibility and Delegates
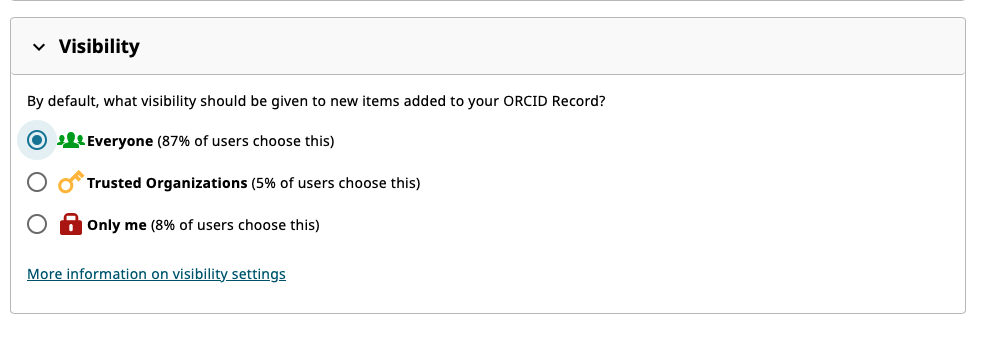
Visibility: When you are logged in to ORCID, on the top right you will see your name. Clicking on your name allows you to access your ORCID account settings. In the settings, you will see options for visibility. Here, you can set the default visibility for any items you add to your ORCID record. Since one of the purposes of an ORCID record is to be a definitive and public record of your work, we suggest that you set the default visibility to “everyone.”
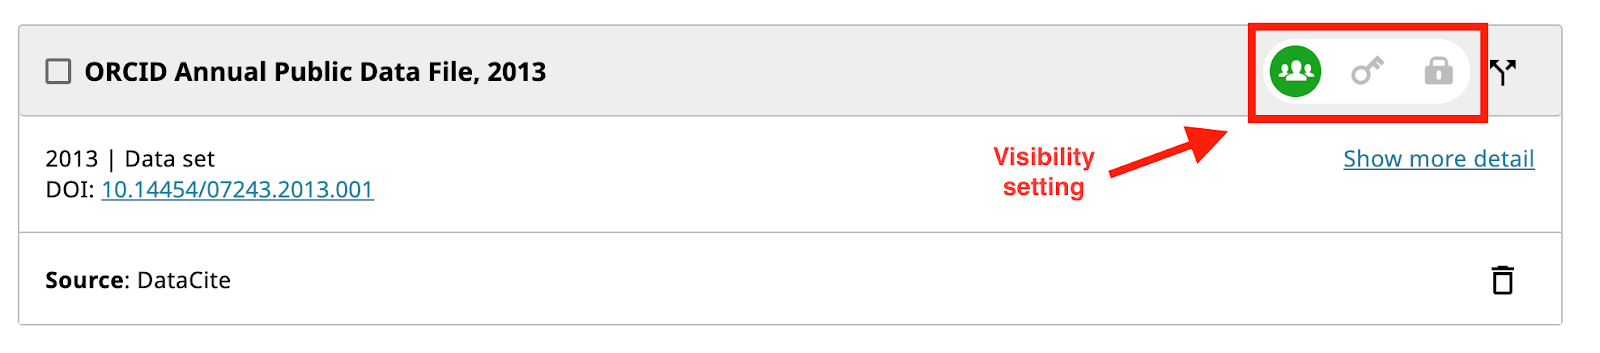
You can also control the visibility of individual items in your ORCID record on your profile. All entries, be they related to works, employment, or education, have controls to set the visibility in the upper right.
Delegates: When you connect your ORCID to another organization’s system, you will be asked to grant permission to that organization to interact with your ORCID account. ORCID refers to these as “trusted organizations,” and you can revoke their access at any time. Trusted organizations can both retrieve data from your ORCID profile and populate data into it. For instance, if you used the Search & Link function through Scopus as discussed above, which allowed Scopus to populate records into your profile, Scopus would now be one of your trusted organizations.
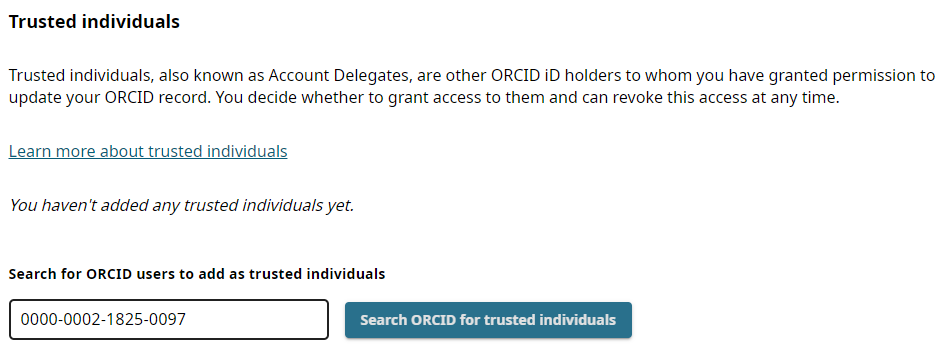
You can also grant permission to one or more trusted individuals to update your ORCID record, acting as a delegate or proxy for managing your account. A trusted individual does not need to be another researcher, but the person must have an ORCID. The trusted individual can modify your ORCID for you.
To view your trusted organizations and individuals, click on your name in the upper right side of the page, then choose “Trusted Parties.” Here, you can view and control your trusted parties. To add a trusted individual, scroll down to the trusted individual section. In the search box, enter the ORCID, email address, or name of the person you want to make a trusted individual.
Additional Resources
Related Articles
Persistent Identifiers (PIDs): An Overview
Source
“ORCID Help Center.” Accessed November 16, 2023. https://support.orcid.org/hc/en-us.